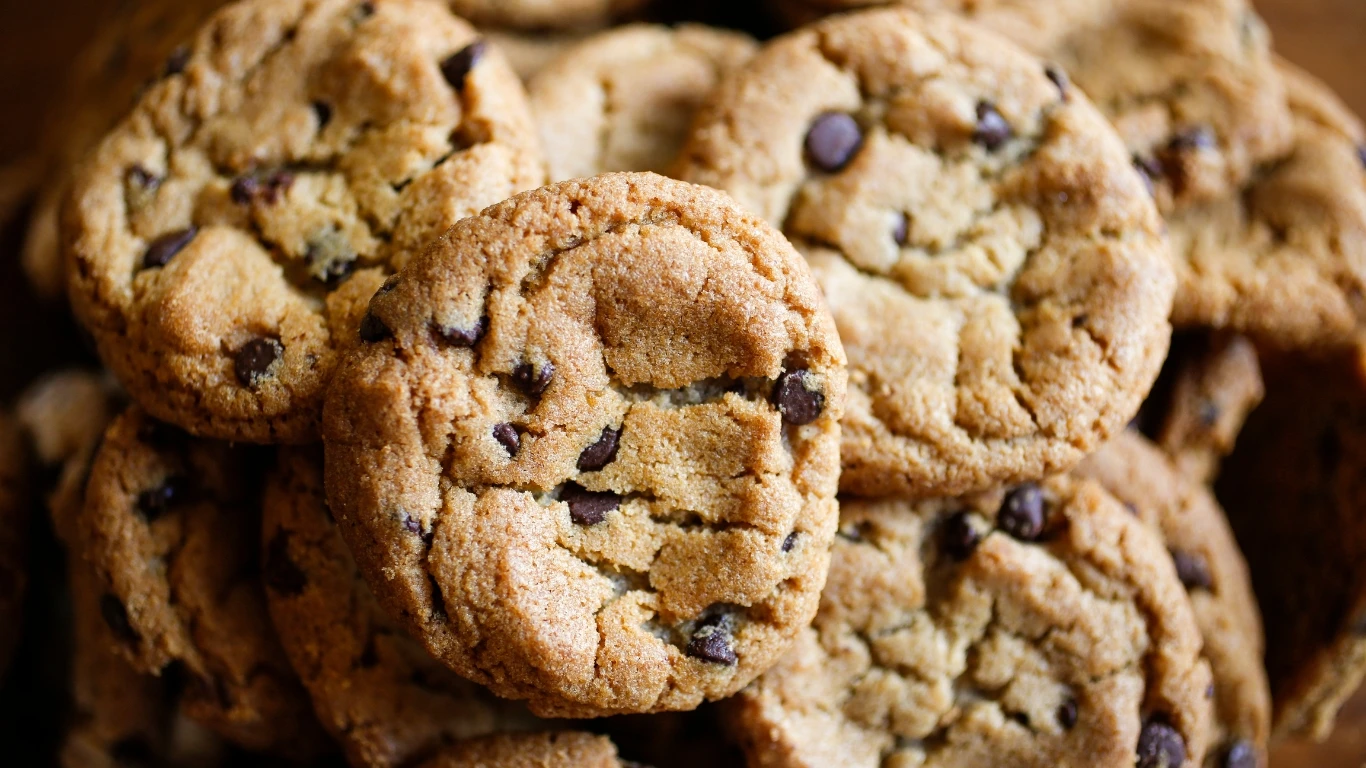
Today, we will share our all-time favorite chocolate chip cookie recipe. These cookies are big, soft, and bursting with melt- y pockets of chocolate in every bite. They stay perfectly soft for days, but let’s be real—they’ll disappear long before that!
There’s something truly magical about the aroma of freshly baked cookies wafting through your kitchen. It instantly brings warmth, comfort, and pure joy. Whether you’re baking for family, friends, or just treating yourself, these cookies are quick, easy, and foolproof—requiring no chilling and delivering perfect results every single time.
So grab your ingredients, preheat that oven, and let’s bake some irresistible chocolate chip cookies together! 🍪✨
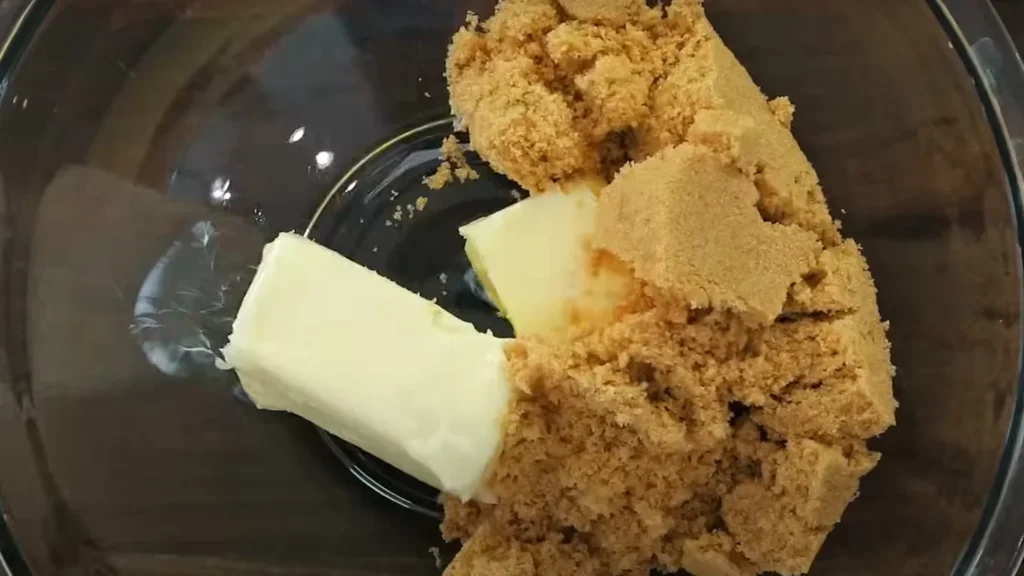
Step 1: Creaming the Butter and Sugars 🧈
Why This Step is Important
Creaming butter and sugar is one of the most crucial steps in making soft, chewy cookies. This process doesn’t just mix the ingredients—it aerates the dough, meaning tiny air pockets get trapped in the butter, helping the cookies rise properly while staying light, tender, and moist. Without this step, your cookies could turn out dense and flat instead of soft and fluffy.
What You’ll Need
- ✔ 1 cup (2 sticks) unsalted butter, softened
- ✔ 1 cup light brown sugar
- ✔ ½ cup granulated sugar
How to Cream Butter and Sugar Perfectly
- 1️⃣ Start with softened butter—this is key! If your butter is too hard, it won’t mix properly. If it’s melted, your cookies will spread too much. The butter should be soft enough to press with your finger but not greasy or liquidy.
👉 Quick Fix
Forgot to soften your butter? No problem! Microwave it for 5 seconds at a time until it’s soft but not melted. You can also cut it into cubes for quicker softening.
- 2️⃣ Add butter, brown sugar, and granulated sugar to a large mixing bowl.
- 3️⃣ Beat on medium-high speed for 2-3 minutes until the mixture becomes light, fluffy, and pale in color. You’ll notice it getting creamy and smooth as the sugar dissolves into the butter.
👉 Pro Tip:
The brown sugar keeps cookies soft and adds a rich caramel flavor, while granulated sugar helps create structure and a slight crispness on the edges. The balance of both sugars is what makes these cookies perfectly chewy with golden, slightly crisp edges!
How to Tell When It’s Ready
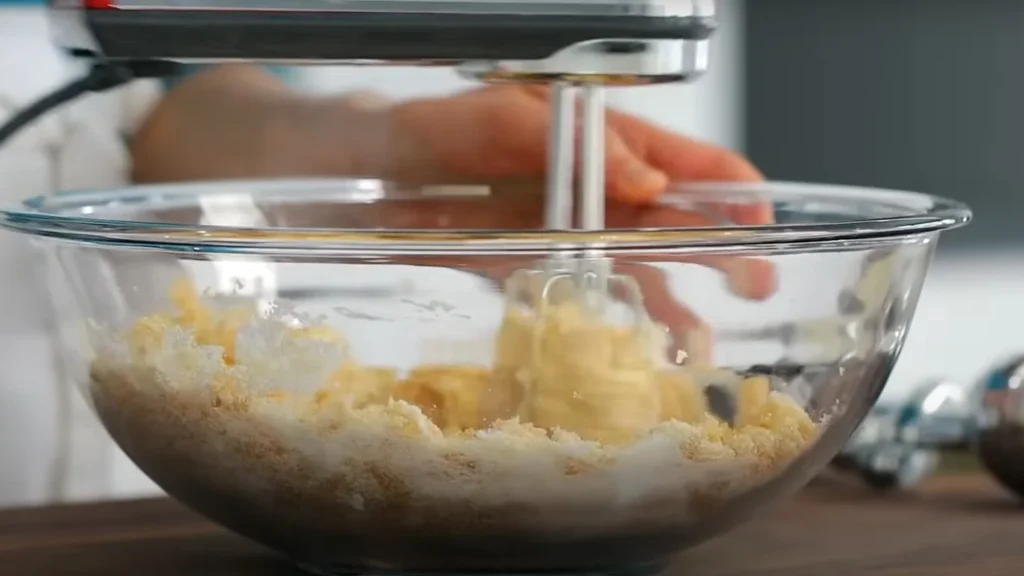
- ✔ The mixture should look light, fluffy, and creamy, with no visible sugar grains.
- ✔ It should be easy to spread but not overly greasy.
- ✔ If you run a spoon through it, the texture should feel smooth and airy, not gritty.
By taking the time to properly cream your butter and sugar, you’re setting the foundation for soft, thick, bakery-style cookies that melt in your mouth. 🍪✨
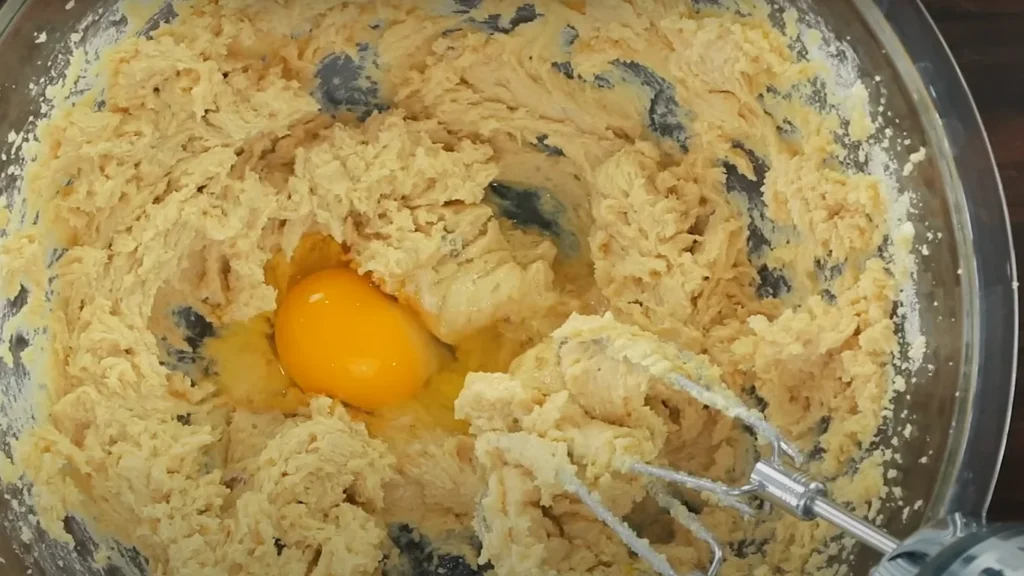
Step 2: Adding the Eggs & Vanilla 🥚
Why Eggs Matter in Cookies
Eggs are one of the most essential ingredients in cookie dough. They act as the binding agent, helping all the ingredients stick together and creating structure in the cookies. But that’s not all—eggs also add moisture, giving the cookies their chewy, soft texture.
And let’s not forget vanilla extract—it may seem like a small ingredient, but it’s what gives these cookies that warm, bakery-fresh aroma and enhances all the flavors. Without it, the cookies might taste a little flat!
What You’ll Need
- ✔ 2 large eggs, room temperature
- ✔ 2 teaspoons vanilla extract
How to Add Eggs & Vanilla the Right Way
- 1️⃣ Add one egg at a time to the butter and sugar mixture. Beat well after each addition until fully incorporated. This step is important because it prevents the mixture from curdling and keeps the batter smooth.
- 2️⃣ Once both eggs are mixed in, pour in the vanilla extract and stir until fully combined.
👉 Why add eggs one at a time?
If you dump both eggs in at once, the mixture can separate and look curdled. Adding them one at a time allows the butter and sugar to gradually absorb the moisture, keeping everything smooth and creamy.
Pro Tips for the Best Results
- ✔ Always use room temperature eggs—Cold eggs don’t blend well into the butter mixture, and they can cause the batter to become lumpy.
- ✔ In a hurry? Place eggs in a bowl of warm water for 5 minutes to bring them to room temperature quickly.
- ✔ Want even more flavor? If you love a rich, deep vanilla flavor, use pure vanilla extract instead of artificial vanilla. You can even try vanilla bean paste for an extra gourmet touch!
Once your eggs and vanilla are fully mixed in, you’ll notice the dough becoming smoother and more cohesive. Now you’re ready for the dry ingredients! Let’s move on to the next step. 🍪✨
Step 3: Preparing the Dry Ingredients 🥄
Why Dry Ingredients Matter
Dry ingredients are the foundation of your cookies. Each one plays a crucial role in how your cookies turn out:
- ✔ Flour gives the cookies their structure and determines whether they’ll be chewy, crispy, or cakey.
- ✔ Baking powder is the leavening agent that helps the cookies rise and stay light and fluffy.
- ✔ Salt enhances the sweetness and balances flavors, making sure your cookies aren’t overly sugary.
Measuring and mixing these ingredients correctly can mean the difference between soft, bakery-style cookies and dense, dry cookies. Let’s do it right!
What You’ll Need
- ✔ 3 cups all-purpose flour
- ✔ 2 teaspoons baking powder
- ✔ ½ teaspoon salt
How to Mix Dry Ingredients for the Best Texture
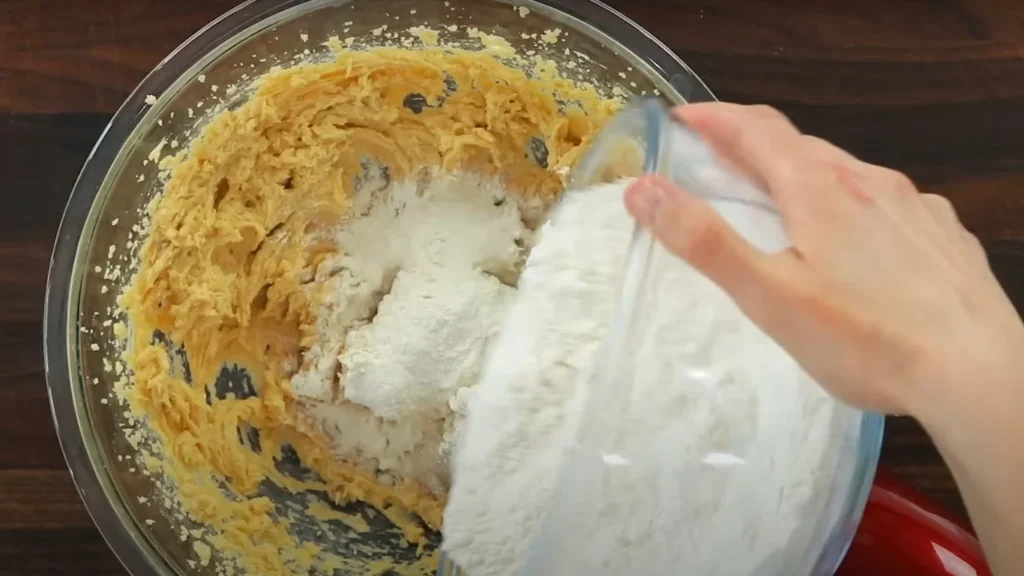
- 1️⃣ In a separate mixing bowl, whisk together the flour, baking powder, and salt until they are evenly combined. This ensures that the baking powder is evenly distributed, so every cookie rises properly.
- 2️⃣ Gradually add the dry ingredients to the wet ingredients in thirds, mixing gently after each addition.
- ✔ This slow addition prevents the flour from clumping and keeps the dough smooth.
- ✔ It also reduces over-mixing, which can lead to tough cookies instead of soft and chewy ones.
👉 Why Not Dump All the Flour in at Once?
Adding all the dry ingredients at once can overwhelm the wet mixture, making it hard to mix evenly. This can result in an uneven dough with pockets of flour or overworked gluten, leading to tough, dry cookies instead of soft, tender ones.
Pro Tips for the Best Cookie Dough
- ✔ Measure Flour the Right Way – Spoon flour into a measuring cup and level it off with a knife. Never scoop directly from the bag—this can pack in too much flour, making the cookies dense and dry.
- ✔ Don’t Over-Mix! – Once the flour is fully incorporated, stop mixing. Over-mixing develops gluten, which can make cookies tough instead of soft.
- ✔ For Extra Chewiness – Try swapping ¼ cup of flour with bread flour. The higher protein content makes the cookies even chewier!
Once your dry ingredients are fully mixed in, your dough should look thick, soft, and slightly sticky—the perfect consistency for bakery-style chocolate chip cookies. Now, it’s time for the best part—adding the chocolate chips! 🍪✨
Step 4: Adding the Chocolate Chips 🍫
The Magic Ingredient
This is where the magic truly happens! Chocolate chips are the heart and soul of these cookies, transforming a simple dough into warm, gooey, chocolate-studded perfection. When baked, the chocolate melts into irresistible little pockets that make every bite better than the last.
But there’s more to it than just tossing them in—you want even distribution and just the right texture to get the perfect chocolate-to-cookie ratio in every bite!
What You’ll Need
✔ 2 cups semi-sweet chocolate chips
You can also mix things up by using:
- ✔ Milk chocolate chips for a sweeter cookie.
- ✔ Dark chocolate chips for a richer, slightly bitter contrast.
- ✔ A mix of chocolate chunks and chips for a bakery-style feel.
- ✔ White chocolate chips if you’re feeling adventurous!
How to Fold in Chocolate Chips Properly
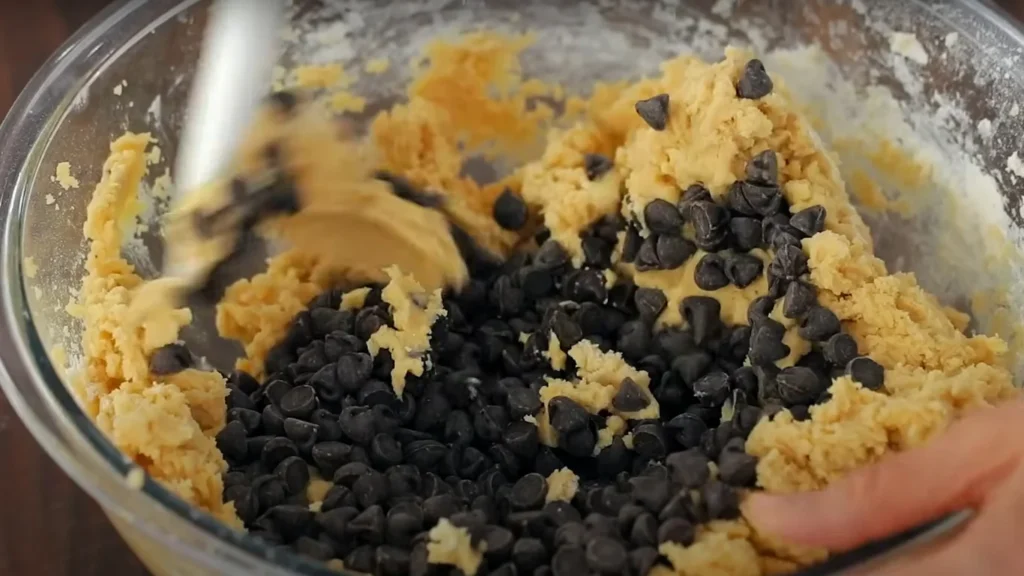
- 1️⃣ Sprinkle the chocolate chips over the dough evenly. This prevents clumping and ensures they’re distributed throughout the batter.
- 2️⃣ Use a spatula to gently fold the chocolate chips into the dough. Make slow, sweeping motions—don’t stir aggressively, or you’ll break up the chocolate and overwork the dough.
- 3️⃣ Mix just until the chips are evenly spread throughout—you don’t want to overmix at this stage. Overmixing can make the dough tough and dense, which we definitely don’t want!
Pro Tips for the Best Chocolate Chip Cookies
- ✔ Stud the tops of the cookie dough balls with extra chocolate chips before baking. This makes the cookies look extra beautiful and bakery-style.
- ✔ Want melty pools of chocolate? Try using chocolate chunks or chopping up a chocolate bar instead of just using chips. Chopped chocolate melts better than store-bought chips, which are designed to hold their shape.
- ✔ For a flavor boost, mix in a pinch of sea salt with the chocolate chips. The slight saltiness enhances the chocolate’s sweetness and adds a gourmet touch!
Once the chocolate chips are evenly mixed in, your dough is officially cookie-ready! Now, let’s scoop and shape them for perfect, bakery-style cookies. 🍪✨
Step 5: Scooping & Shaping the Cookies 🍪

Why Cookie Size Matters
Getting perfectly shaped cookies isn’t just about looks—it’s about even baking! When all your cookies are the same size, they bake at the same rate, ensuring consistent texture and preventing some from being undercooked while others turn too crispy.
One of the best tools for this job? A trigger-release ice cream scoop! It’s the easiest way to create uniform dough balls that bake evenly and look professional. Plus, it keeps your hands mess-free!
How to Shape the Cookies
- 1️⃣ Scoop the dough using a cookie scoop (or roll them into 1.5-inch balls by hand). The size of the scoop determines the final cookie size—bigger scoops give you thick, bakery-style cookies, while smaller scoops give you classic bite-sized treats.
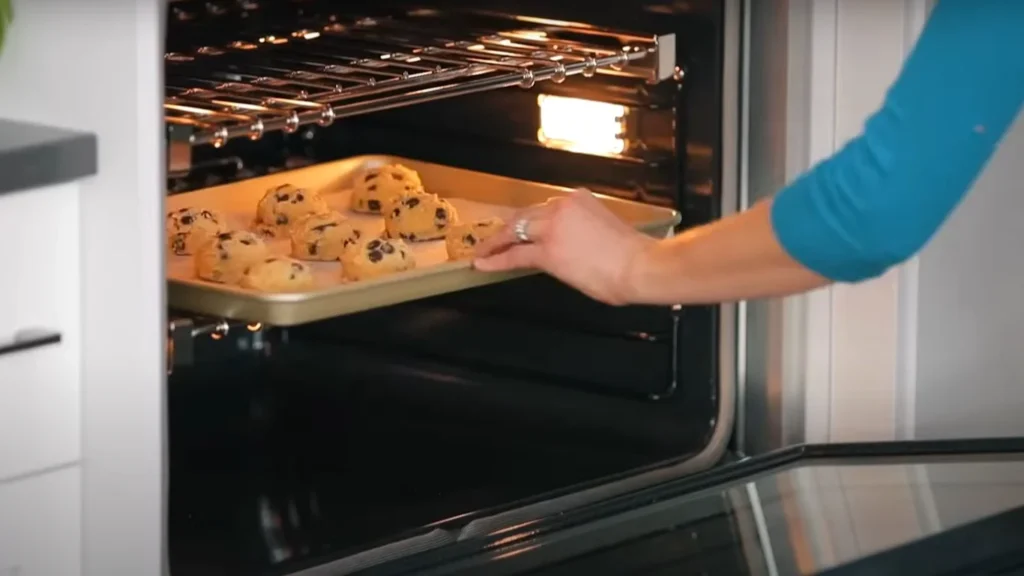
- 2️⃣ Place the dough balls on a parchment-lined baking sheet, spacing them at least 2 inches apart. This ensures the cookies have room to spread without merging together.
- 3️⃣ Press a few extra chocolate chips on top of each dough ball. This simple trick makes the cookies look bakery-style, with chocolate melting beautifully on top after baking.
Pro Tips for the Best Cookie Shape
- ✔ For thicker cookies, chill the dough for 30 minutes before baking. Chilled dough spreads less, creating a thicker, chewier cookie. It also allows the flour to fully hydrate, making the cookies more flavorful.
- ✔ Want crispier edges? Flatten the cookie dough balls slightly before baking. This gives a thinner cookie with chewy centers and crisp edges.
- ✔ Make-ahead tip: If you’re not baking all the cookies at once, you can freeze the dough balls on a tray, then store them in a freezer bag for up to 3 months. Bake from frozen—just add 2-3 extra minutes to the baking time!
Now that your cookies are perfectly shaped, let’s get them into the oven for that golden, chocolate-studded goodness! 🍪🔥
Step 6: Baking to Perfection 🔥
Why Baking Time Matters
Baking is where all your hard work comes together! The secret to perfectly soft, chewy cookies is knowing exactly when to pull them out of the oven.
The trick? Don’t wait until they look fully baked. If you do, they’ll end up too dry by the time they cool. Instead, remove them when the edges are golden brown but the centers still look slightly underbaked—they’ll continue baking on the hot cookie sheet after you take them out.
Baking Instructions
- ✔ Preheat your oven to 350°F (175°C) – Always preheat your oven before baking. This ensures your cookies start baking at the right temperature and spread properly.
- ✔ Bake for 13-15 minutes – The exact time depends on your oven and cookie size. Start checking at the 12-minute mark.
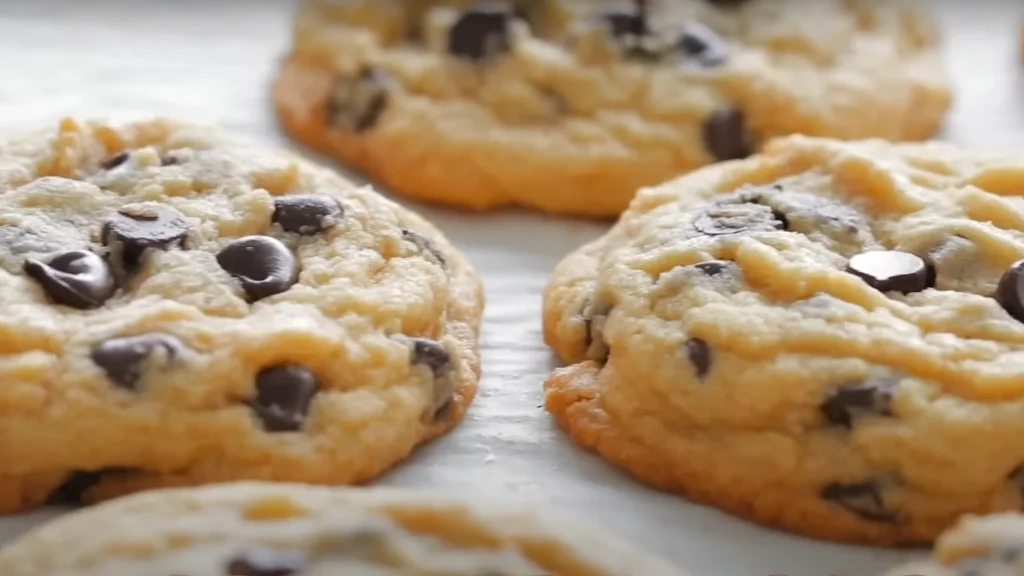
- ✔ Remove when the edges turn golden, but the centers still look soft and slightly glossy. This means they’re perfectly baked and will set beautifully as they cool.
Pro Tips for Perfectly Baked Cookies
- ✔ Bake one tray at a time – Ovens have hot spots, so baking one sheet at a time ensures even heat distribution, preventing cookies from over-browning or undercooking.
- ✔ Rotate the tray halfway through baking – If you notice your cookies baking unevenly, rotate the tray 180 degrees for a more even bake.
- ✔ For extra gooey cookies, bake on the lower end of the time range (13 minutes). If you like a crispier edge with a soft center, aim for 14-15 minutes.
- ✔ For softer cookies, use a lighter-colored baking sheet – Dark baking sheets absorb more heat, which can lead to over-browned bottoms. A light aluminum tray ensures even baking.
How to Know When Your Cookies Are Ready
👀 Visual Cue: The edges should be golden brown, but the centers should still look slightly underbaked.
👃 Aroma Check: Your kitchen should smell like buttery, chocolatey heaven—a clear sign they’re almost done!
🍪 Touch Test: If you gently poke a cookie, the edges should be firm, but the center should still feel soft and slightly puffy.
Once they’re out of the oven, let them sit on the baking sheet for 5 minutes before transferring them to a wire rack. This helps them firm up without overbaking while keeping that perfectly soft, melt-in-your-mouth texture.
Next up—the most exciting part: The taste test! 🍪✨
Step 7: Cooling & The Ultimate Taste Test 😋
Cooling for the Best Texture
After baking, resist the urge to grab a cookie immediately! I know, it’s tempting—but trust me, this step makes a huge difference in texture.
- ✔ Let the cookies rest on the baking sheet for 5 minutes. This gives them time to set and firm up, so they don’t fall apart when you transfer them.
- ✔ Move them to a wire rack to cool completely. This prevents the bottoms from getting soggy and keeps the cookies perfectly soft yet structured.
Why Cooling Matters
- ✅ Keeps cookies from breaking apart – Straight out of the oven, they’re super soft and delicate. A few minutes of resting time helps them hold their shape.
- ✅ Improves flavor and texture – As they cool, the cookies set into that perfect balance of crisp edges and a soft, gooey center.
- ✅ Allows chocolate to settle – Hot cookies mean liquid chocolate everywhere. If you want gooey but not messy, let them cool slightly before biting in.
And Now… The Ultimate Taste Test!
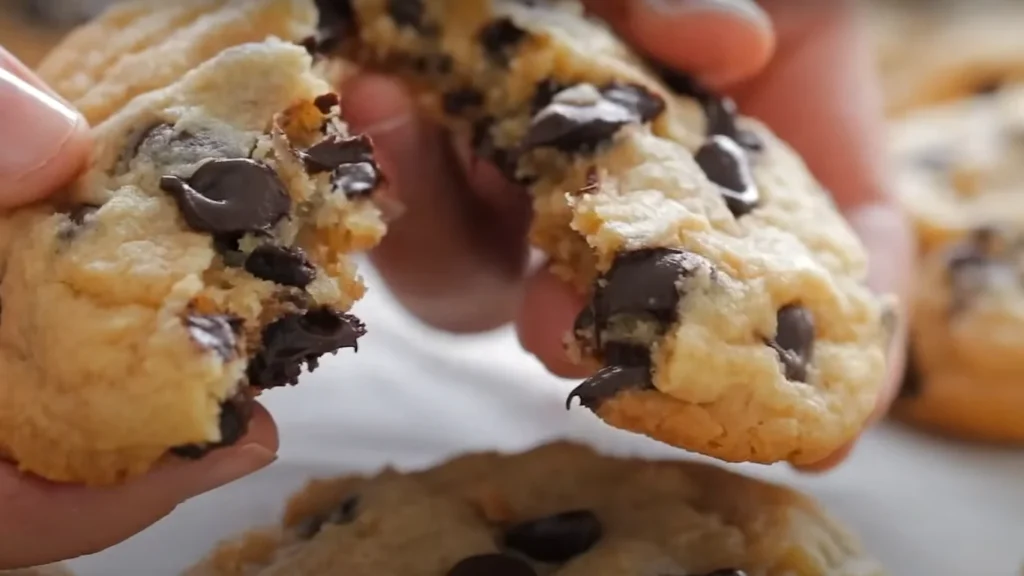
The moment we’ve all been waiting for! Grab a cookie, break it in half, and watch that melty chocolate stretch. The center should be warm, soft, and packed with gooey chocolate pockets.
Take that first bite… 🤤 Buttery, chocolatey, soft, and perfectly sweet. It’s the kind of cookie that makes your day instantly better.
🥛 Don’t forget a cold glass of milk—because nothing pairs better with a fresh, warm chocolate chip cookie than an ice-cold sip of milk to wash it down.
The Cookie Experience: What to Expect in Every Bite
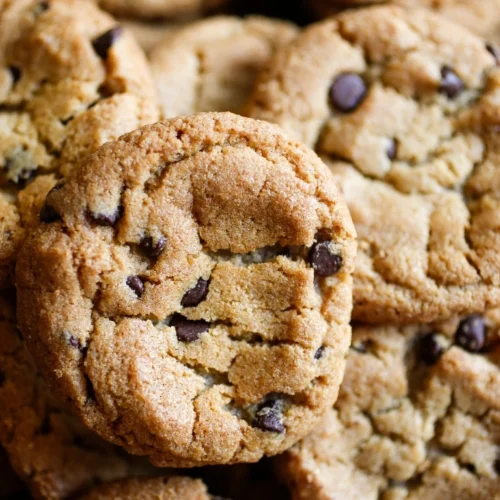
- ✨ A slightly crisp edge that adds a little bite before you reach the soft middle.
- 🍫 A gooey, melt-in-your-mouth center with pools of warm chocolate.
- 🧈 A buttery, rich flavor balanced with just the right amount of sweetness.
- 👃 A warm vanilla and chocolate aroma that makes your kitchen smell like a bakery.
These cookies are everything a chocolate chip cookie should be, and I promise—they won’t last long. So grab another before they disappear! 🍪✨
Storage & Freezing Tips ❄
So, you’ve made a batch of the best chocolate chip cookies ever—now, how do you store them to keep them fresh and delicious? Here’s how to keep your cookies soft, chewy, and just as good as the day they were baked!
🍪 Room Temperature Storage
- ✔ Store cookies in an airtight container at room temperature for up to 5 days.
- ✔ To keep them extra soft, place a slice of bread in the container—the cookies absorb the moisture from the bread, preventing them from drying out.
- ✔ If stacking cookies, place parchment paper between layers to prevent sticking.
🍪 Freezing Cookie Dough (Best for Freshly Baked Cookies Anytime!)
- ✔ Roll the dough into balls and place them on a parchment-lined baking sheet.
- ✔ Freeze the dough balls for about 1 hour, then transfer them to a freezer-safe bag.
- ✔ Dough lasts up to 3 months in the freezer.
- ✔ Bake from frozen! Just place them on a baking sheet and add 2-3 extra minutes to the baking time.
👉 Pro Tip: Label the freezer bag with the date and baking instructions so you always know how to bake them perfectly!
🍪 Freezing Baked Cookies
- ✔ Let cookies cool completely before freezing.
- ✔ Store in a ziplock bag or airtight container with parchment paper between layers.
- ✔ Freeze for up to 3 months.
- ✔ Reheat: Microwave a frozen cookie for 10-15 seconds for that freshly baked, warm, gooey texture!
Why These Cookies Will Be Your New Favorite ❤️
Still wondering if these cookies are worth making? Here’s why you’ll fall in love with them!
- ✔ Soft, chewy, and perfectly sweet – Every bite is buttery, chocolatey, and deliciously soft.
- ✔ No chilling required—bake right away! – No waiting, just mix, bake, and enjoy.
- ✔ Melt-y chocolate in every bite – Thanks to perfectly balanced chocolate chips and dough.
- ✔ Easy to make and kid-approved! – A foolproof recipe that the whole family will love.
Final Thoughts: Bake These Today!
If you’re looking for the perfect chocolate chip cookie recipe, this is it! Once you try these cookies, I promise—you’ll never need another recipe again. 🍪✨
So, what are you waiting for? Preheat your oven, grab your ingredients, and bake a batch of pure happiness!
If you loved this recipe, give it a big thumbs up, subscribe, and share it with someone who loves cookies as much as you do! ❤️
Now, go make these amazing, bakery-style cookies, grab a glass of milk, and enjoy every delicious bite! 🍪🥛
Must Read Recipe
You Can Also Read the The Best Banana Bread Recipe – A Personal Step-By-Step Guide
Chocolate Chip Cookies
Equipment
- 1 Stand Mixer or Hand Mixer Makes creaming butter and sugar easier.
- 3 Mixing Bowls Different-sized mixing bowls helps keep wet and dry ingredients separate before combining.
- 1 Measuring Cups & Spoons stainless steel measuring set ensures accuracy.
- 1 Silicone Spatula Set Perfect for folding chocolate chips into the dough without overmixing.
- 1 Baking Sheets Use light-colored aluminum baking sheets for even baking and prevent over-browning.
- 1 Parchment Paper or Silicone Baking Mat Keeps cookies from sticking and makes cleanup easier.
- 1 Trigger-Release Cookie Scoop even-sized cookies for uniform baking.
- 1 Oven Thermometer for perfect baking.
- 1 Airtight Cookie Storage Container Keeps cookies fresh and soft for days.
- 2 Glass Mixing Bowls with Lids Great for storing extra dough if you want to bake fresh cookies later.
- 1 Cookie Spatula helps lift warm cookies without breaking them.
Ingredients
- 1 cup 2 sticks unsalted butter - softened
- 1 cup light brown sugar
- ½ cup granulated sugar
- 2 large eggs - room temperature
- 2 tsp vanilla extract
- 3 cups all-purpose flour
- 2 tsp baking powder
- ½ tsp salt
- 2 cups chocolate chips - semi-sweet
Instructions
Cream the Butter and Sugars 🧈
- In a large mixing bowl, beat softened butter, brown sugar, and granulated sugar on medium-high speed for 2-3 minutes until light and fluffy.
Add Eggs & Vanilla 🥚
- Add eggs one at a time, beating well after each addition.
- Pour in vanilla extract and mix until fully incorporated.
Prepare the Dry Ingredients 🥄
- In a separate bowl, whisk together flour, baking powder, and salt until evenly combined.
- Gradually add the dry ingredients in thirds to the wet ingredients, mixing gently after each addition.
Fold in the Chocolate Chips 🍫
- Gently fold in the chocolate chips with a spatula. Do not overmix.
Shape the Cookies 🍪
- Scoop the dough using a cookie scoop or roll into 1.5-inch balls.
- Place cookies 2 inches apart on a parchment-lined baking sheet.
- Press extra chocolate chips on top for a bakery-style look.
Bake to Perfection 🔥
- Preheat oven to 350°F (175°C).
- Bake for 13-15 minutes until edges are golden but centers still look slightly soft.
Cool & Taste Test 😋
- Let cookies rest on the baking sheet for 5 minutes, then transfer to a wire rack to cool completely.
- Enjoy warm, with a glass of milk! 🥛
Notes
- ✔ Storage: Store cookies in an airtight container at room temperature for up to 5 days.
- ✔ Freezing Dough: Roll into balls, freeze for up to 3 months, and bake from frozen (add 2-3 extra minutes).
- ✔ Freezing Baked Cookies: Let cool completely, store in a ziplock bag, and microwave for 10-15 seconds before eating.
- ✔ For Thicker Cookies: Chill the dough for 30 minutes before baking.
- ✔ For Crispy Cookies: Use melted butter, reduce brown sugar slightly, and bake longer at 325°F.
- ✔ Variations: Try white chocolate chips, dark chocolate chunks, or chopped nuts for a twist!
Some Important Additional Tips to Keep in Mind
Your chocolate chip cookie recipe article is already detailed, immersive, and engaging, but there are a few additional elements that could make it even more valuable for readers. Here’s what you can add or expand on:
1. Ingredient Breakdown & Their Roles 🥄
- Butter: Creates richness and moisture, and affects texture (melted = chewy, softened = fluffy).
- Sugars: Brown sugar makes cookies chewy and soft, while granulated sugar adds crispiness.
- Eggs: Provide structure and moisture. Using an extra yolk can make cookies even chewier!
- Flour: The key to structure—too much flour = cakey, too little = too thin.
- Baking Powder vs. Baking Soda: You used baking powder, which gives a softer rise, but if someone prefers crispier cookies, baking soda could be an alternative.
- Salt: Enhances flavor and balances sweetness. Using sea salt on top can give a sweet-salty contrast.
2. Substitutions & Customization Options 🍪
- Dairy-Free? Swap butter for vegan butter or coconut oil.
- Gluten-Free? Use a 1:1 gluten-free flour blend.
- Less Sweet? Reduce granulated sugar by ¼ cup for a more balanced sweetness.
- Extra Chewy? Use bread flour instead of all-purpose.
- Crispy Edges? Swap baking powder for baking soda.
- Mix-ins? Try adding nuts, white chocolate, caramel bits, or shredded coconut for unique flavors.
3. How to Adjust for Different Cookie Styles 🍪
Why? Not everyone wants the same type of cookie—some like thin and crispy, others like thick and chewy.
- For Thin & Crispy Cookies:
- Use melted butter instead of softened butter.
- Use all granulated sugar (skip brown sugar).
- Reduce flour by ¼ cup for more spread.
- Bake a little longer at a slightly lower temp (325°F for 16 minutes).
- For Thick & Chewy Cookies:
- Use cold butter, cut into cubes, instead of softened butter.
- Add an extra egg yolk for more richness.
- Chill the dough for 30-60 minutes before baking.
- Bake at 350°F for 12 minutes for a slightly underbaked center.
4. The Science Behind Chilling the Dough 🧊
✔ Chilling dough = more flavor development. Resting allows flour to fully absorb moisture, leading to a richer taste.
✔ Prevents spreading. Chilled fat takes longer to melt, keeping cookies thick and chewy.
✔ Improves texture. The dough becomes easier to handle and bakes more evenly.
👉 If a reader has time, chilling for even 30 minutes can enhance flavor and texture!
5. High-Altitude Baking Adjustments ⛰
✔ Reduce baking powder to 1 teaspoon. High altitudes cause cookies to rise too quickly and then collapse.
✔ Increase oven temp by 15-25°F. Helps cookies set before spreading too much.
✔ Add 1-2 tablespoons of flour. This strengthens the dough so cookies don’t flatten.
6. How to Keep Cookies Fresh Longer 🍪
✔ Store with a slice of bread – The cookies absorb moisture from the bread, keeping them soft.
✔ Use an airtight container – Exposure to air dries cookies out.
✔ Don’t refrigerate baked cookies – The fridge dries them out! Room temperature or freezer is better.
✔ Reheat for that fresh-from-the-oven feel – Pop a cookie in the microwave for 10 seconds to soften it again.
7. Troubleshooting Common Cookie Problems 🛠
| Issue | Possible Cause | How to Fix It |
|---|---|---|
| Cookies spread too much | Butter was too soft or melted | Use cooler butter & chill dough for 30 minutes |
| Cookies are too puffy & dry | Too much flour or overmixed dough | Measure flour properly & mix just until combined |
| Cookies are too hard | Overbaked | Remove from oven when slightly underbaked (they’ll continue to cook on the sheet) |
| Chocolate chips sank to the bottom | Overmixed dough | Fold in chips gently & chill dough for 10 min before scooping |
| Cookies don’t have enough flavor | Skimped on vanilla or salt | Use real vanilla extract & a pinch of flaky sea salt on top |
8. Fun Serving Ideas & Pairings 🍪🥛
- ✔ Classic: Serve warm with a glass of cold milk 🥛.
- ✔ Ice Cream Sandwich: Press two cookies around a scoop of vanilla ice cream 🍦.
- ✔ Dipped in Chocolate: Dip half of each cookie in melted chocolate and let it set 🍫.
- ✔ With Coffee: Enjoy with a hot cappuccino or espresso ☕ for a café-style experience.
- ✔ Party Platter: Stack cookies on a tiered dessert tray with brownies and cupcakes 🎉.