If you want an easy and delicious bread you can make right at home, you have to try my banana bread recipe. I’ve been making this for years, and every single time, it brings so much warmth and comfort. There’s something so deeply satisfying about banana bread—the sweet aroma, the soft texture, the little bursts of banana in every bite. 🤎
And here’s the best part: It’s incredibly simple to make. No fancy ingredients, no complicated steps. Just a few staple ingredients, a little bit of patience, and—boom!—a homemade loaf that tastes better than any store-bought banana bread.
I make this banana bread all the time, and every time I do, it disappears within hours. It’s a household favorite, a hit with friends, and honestly? One of the easiest and most rewarding things you can bake.
So, grab your ingredients, roll up your sleeves, and let’s get baking! This guide will take you through every single step, just like we’re baking together in the kitchen. Trust me, this will be the best banana bread you’ve ever made. Oh, and if you Like the Article, share it with Friends and Family. 💛
Choosing the Right Bananas – The Secret to Perfect Banana Bread 🍌
Now, let’s talk about bananas. The ones I have here are great for snacking, but they’re not quite ready for baking. For banana bread, you want your bananas to be almost decomposing—soft, mushy, and brown. You know, the kind that people might think belong in the trash? Yeah, those are perfect!
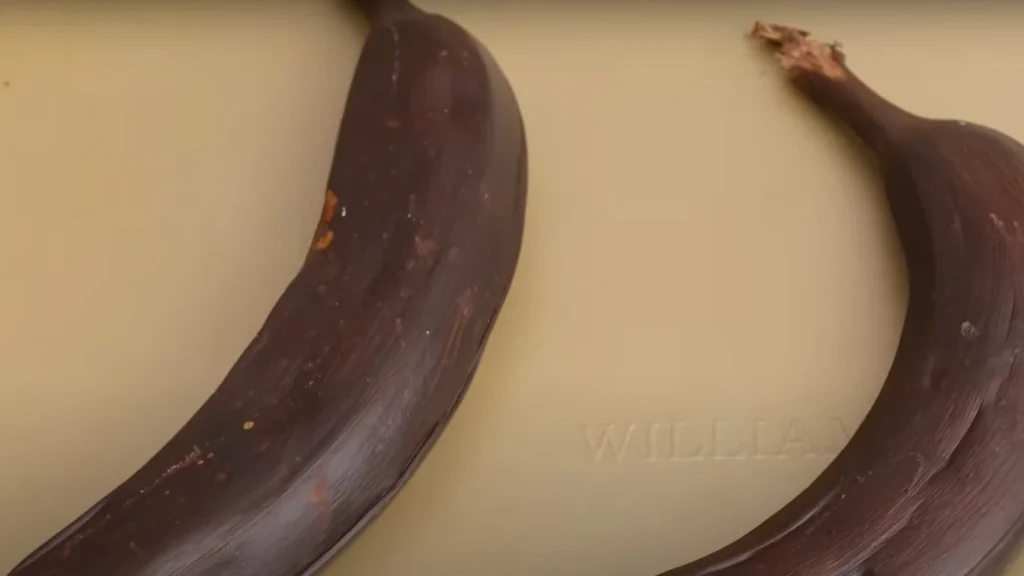
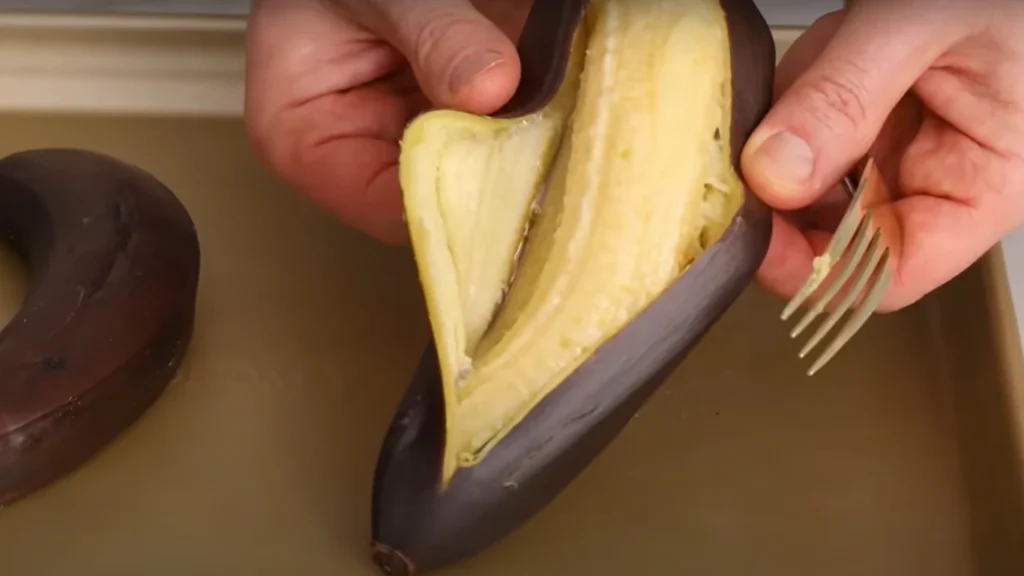
💡 Pro Tip: If your bananas aren’t super ripe yet, don’t worry. We can speed things up! Just lay them on a baking sheet and bake at 350°F (175°C) for 10-12 minutes. This quick trick blackens the skins and transforms the inside into the perfect, pudding-like texture we need.
👉 Here’s what they look like after baking: totally black on the outside, unbelievably soft inside—almost like banana jello. This step is a game changer because sometimes you want to bake banana bread right now, and waiting days for bananas to ripen is just not happening!
Step 1: Choosing the Right Bananas – The Secret to Perfect Banana Bread 🍌
Before we do anything, let’s talk bananas. Because, believe it or not, the kind of bananas you use will make or break your banana bread because Bananas are the heart of banana bread. But not just any bananas—we need them super ripe.
The ones I have here? They’re great for eating—but not for baking. You want your bananas to be almost decomposing for banana bread—soft, mushy, and brown.
I know, I know. At first glance, these bananas might look like they belong in the trash. But trust me, they’re absolute gold. 🍯
💡 Why do we need overripe bananas?
- They have a deeper, richer sweetness than regular yellow bananas, which gives the bread natural caramelized flavor.
- Their texture is softer, which makes the bread moist and tender.
- The starches break down into sugar, meaning maximum banana taste.
But here’s the problem: Sometimes, we don’t have overripe bananas on hand. What if you suddenly crave banana bread but only have fresh bananas?
👉 Solution: The Quick Ripening Trick
If your bananas aren’t super ripe yet, we can speed things up!
- 1️⃣ Preheat your oven to 350°F (175°C).
- 2️⃣ Lay the bananas on a baking sheet—peel and all.
- 3️⃣ Bake for 10-12 minutes until they turn completely black on the outside.
- 4️⃣ Let them cool before handling.
This quick trick blackens the skins and transforms the inside into the perfect, pudding-like texture we need. No waiting, no frustration.
And here’s what they look like after baking: totally black on the outside, unbelievably soft inside—almost like banana jello. This step is a game-changer.
Step 2: Prepping the Dry Ingredients – The Foundation of a Great Banana Bread
Now that the bananas are cooling, let’s prep the dry ingredients. This part is easy, but don’t underestimate its importance. Properly measuring and mixing dry ingredients ensures your bread turns out light, fluffy, and perfectly balanced.
Here’s what we need:
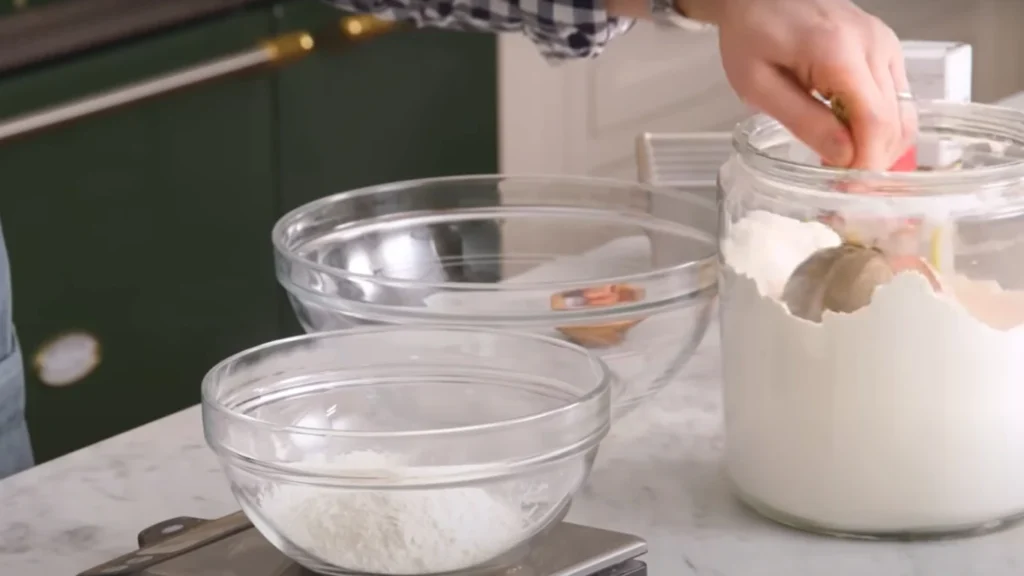
- ✔️ 1¾ cups all-purpose flour (215g) – If you’re using a scale, you’re golden. If not, fluff up the flour before measuring so it’s not packed down.
- ✔️ 1 tsp kosher salt – If using fine grain salt, cut the amount in half because finer salt is more concentrated.
- ✔️ ½ tsp ground cinnamon – Adds warmth and enhances the banana flavor.
- ✔️ 1 tsp baking soda – This helps the bread rise, making it light and fluffy.
👉 👉 Mix everything together in a bowl using a whisk. Why whisk? Because it aerates the flour, evenly distributes the ingredients, and prevents clumps.
💡 Why Whisk?
- It helps evenly mix the ingredients.
- It aerates the flour, making the bread lighter.
- It ensures the baking soda is evenly spread, so every bite gets a good rise.
Once mixed, Set it aside. We’ll need this soon!
Step 3: Mashing the Bananas – The Fun Part! 🥄🍌
Now that the bananas have cooled, let’s get to the most satisfying part: mashing them up!
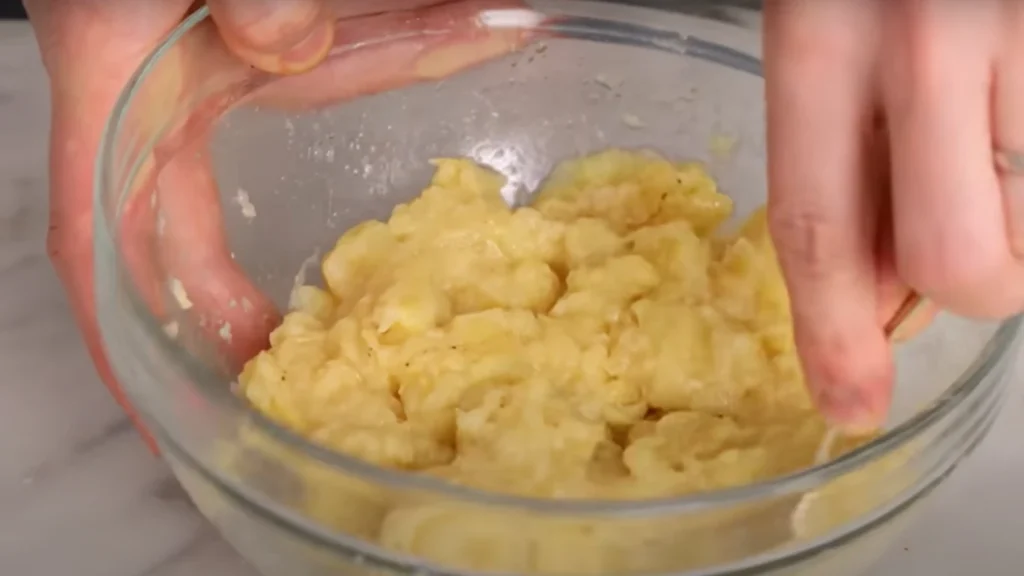
🔹 Drop those softened bananas into a bowl and start mashing.
If you baked them long enough, they should be super soft and easy to mash. You want a nice paste, but it doesn’t have to be perfectly smooth. Some banana chunks are actually great because they add little flavor bursts in the bread.
💡 Pro Tip:
- If your bananas aren’t mashing easily, they weren’t ripe enough. But don’t panic! Just give them a few extra mashes with a fork.
- If you love extra banana flavor, add an extra banana—it’ll make the bread even more moist and delicious.
💡 Texture Tip:
👉 Some people like completely smooth banana puree, while others (like me) love leaving some banana chunks for bursts of banana flavor in every bite.
Set your mashed bananas aside and move on to the next step.
Step 4: Creaming the Butter & Sugar – The Base of All Great Banana Breads
Time for one of my favorite parts: creaming the butter and sugar together. This step is what gives banana bread its moist, tender texture and deep caramel-like flavor.
What we need:
- ✔️ ¾ cup packed brown sugar (150g) – Gives a rich, molasses-like sweetness.
- ✔️ ½ cup unsalted butter (room temperature) – Helps create a tender crumb and a deep flavor.
How to do it:
- 1️⃣ Cream the butter first. If it’s too cold, pop it in the microwave for 5-10 seconds at half power.
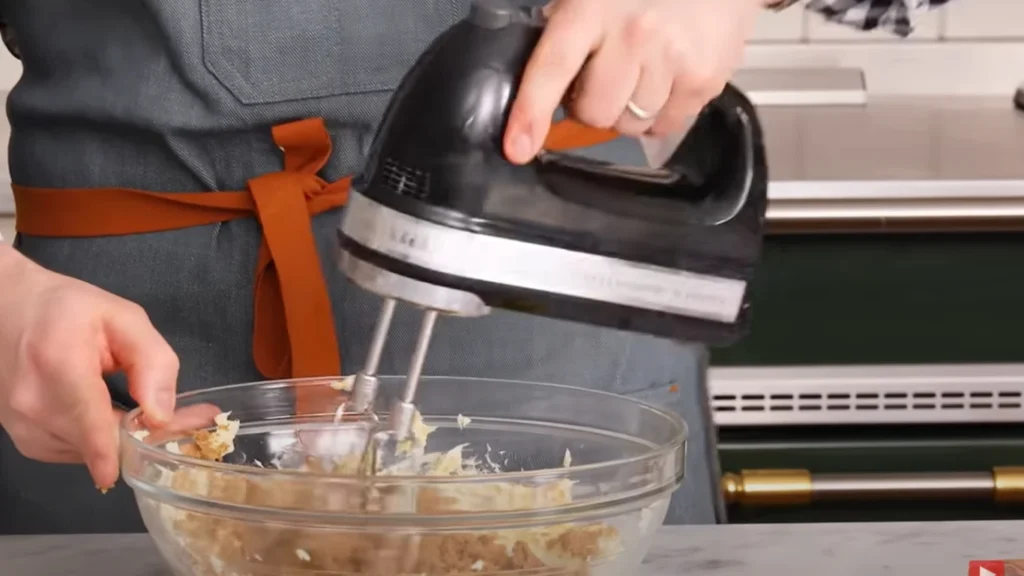
- 2️⃣ Add the brown sugar and mix until the texture becomes lighter and fluffy. A hand mixer or stand mixer works great here!
- 3️⃣ Scrape down the bowl to ensure all sugar and butter mix evenly.
💡 Why does this matter?
- Proper creaming traps air, which helps the bread rise.
- It makes the bread softer and more tender.
Brown sugar doesn’t cream up quite like white sugar, but that deep caramel-like flavor? Totally worth it.
Step 5: Mixing in the Eggs & Vanilla – Bringing the Batter Together 🥚✨
Now that our butter and sugar are beautifully creamed, it’s time to add richness and depth to the batter. This is where we introduce eggs and vanilla extract—two key ingredients that help bring everything together.
Why are eggs so important?
Eggs do more than just add structure to our banana bread. They also:
- ✔️ Help bind the ingredients together so the batter holds up.
- ✔️ Add moisture and fat, making the bread softer and richer.
- ✔️ Encourage even baking—ensuring the center stays perfectly tender and doesn’t collapse.
What we need:
- ✔️ 2 large eggs (room temp) – Helps create a stable, smooth batter.
- ✔️ 1 tsp vanilla extract – A small but mighty ingredient that enhances the overall flavor.
💡 Pro Tip:
If your eggs are cold, let them sit in warm water for 5 minutes before using. This helps them mix in better and prevents the butter from hardening.
How to add them properly:
- 1️⃣ Crack in one egg at a time. This ensures each egg blends smoothly before adding the next.
- 2️⃣ Mix after each addition. You don’t need to overbeat—just enough to incorporate.
- 3️⃣ Pour in the vanilla extract and mix again. The warm, aromatic scent will already start making your kitchen feel cozy.
What if my batter looks grainy or “broken”?
Don’t panic! If your mixture looks a little separated or curdled, it’s completely normal. This happens because butter and eggs have different textures. Once we add the mashed bananas, everything will come together perfectly. Just trust the process!
Speaking of bananas, it’s time for the real magic. 🍌
Step 6: Adding the Bananas & Dry Ingredients – The Secret to a Perfect Texture 🍌
Now, we’re at the most exciting step—combining the bananas and dry ingredients! This is where our batter truly becomes banana bread.
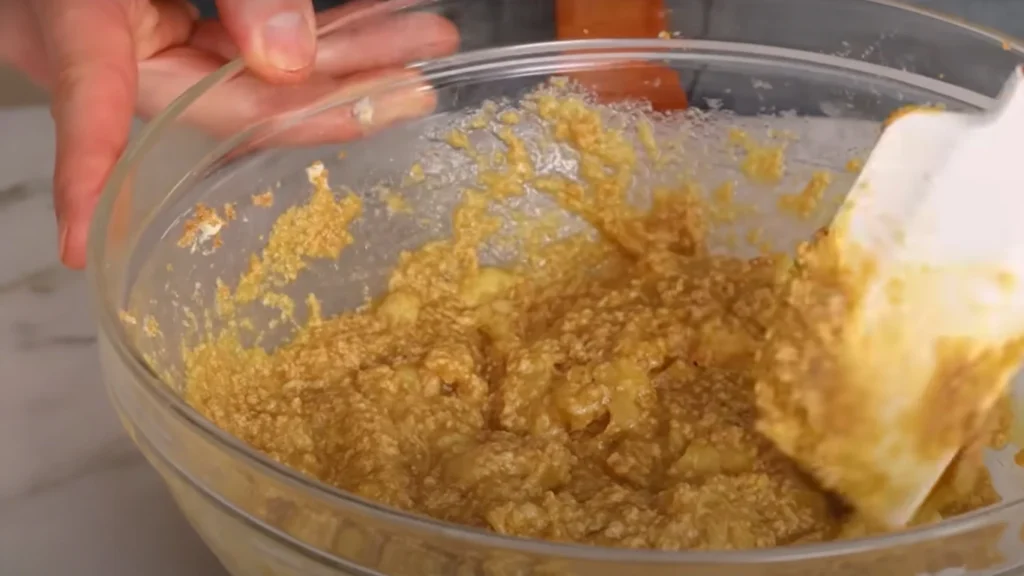
First, mix in the bananas.
- 1️⃣ Take your mashed bananas and gently stir them into the wet ingredients.
- 2️⃣ Fold them in using a spatula. You’ll notice the batter becoming thicker and smoother.
- 3️⃣ Leave some banana chunks! This adds texture and little pockets of caramelized banana flavor in every bite.
💡 Why does banana bread need so many bananas?
Unlike regular cakes, banana bread relies on mashed bananas for both moisture and structure. That’s why skipping or reducing the banana amount changes the whole texture of the bread.
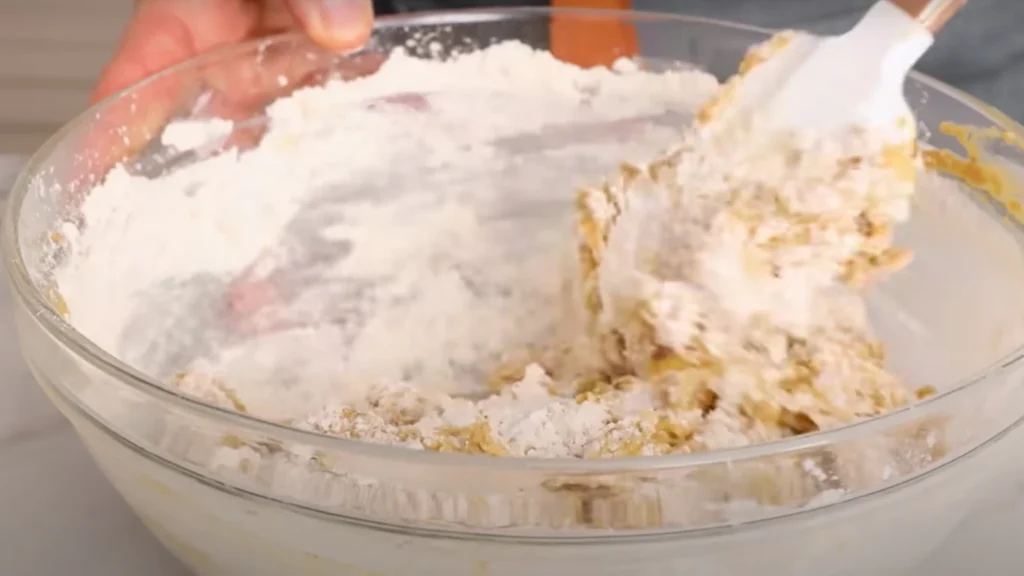
Now, gradually fold in the dry ingredients.
🚨 DO NOT overmix! This is the moment where a light, fluffy bread can easily turn into a dense, tough loaf if we mix too aggressively.
- ✔️ Add half of the dry ingredients and gently fold it in.
- ✔️ Add the remaining half and continue folding just until the flour disappears.
💡 The golden rule: Mix only until there are no visible streaks of flour left. Some lumps are fine—that’s totally normal!
🚫 Why should we avoid overmixing?
- Overmixing activates the gluten in the flour, making the bread chewy and dense instead of soft and delicate.
- It removes the air pockets that help banana bread rise and stay fluffy.
- The less you mix, the more tender and moist your final loaf will be.
Once the batter is fully combined, it’s time for the oven to do its magic.
Step 7: Baking – The Final Transformation 🔥
Here’s where the real excitement begins. By now, the batter is looking incredible, and the scent of vanilla and bananas is already filling the air. But first, we need to prep our loaf pan.
Prepping the Pan: The Key to an Easy Release
- ✔️ Lightly grease a 9×5-inch loaf pan with butter (or line it with parchment paper).
- ✔️ Why grease the pan? Even though this banana bread isn’t overly sticky, a little butter or baking spray ensures it releases cleanly after baking.
💡 Alternative options:
- If you prefer extra crispy edges, dust the buttered pan with a light layer of flour.
- For an easy, mess-free removal, use parchment paper with overhanging sides—this allows you to lift the loaf straight out!
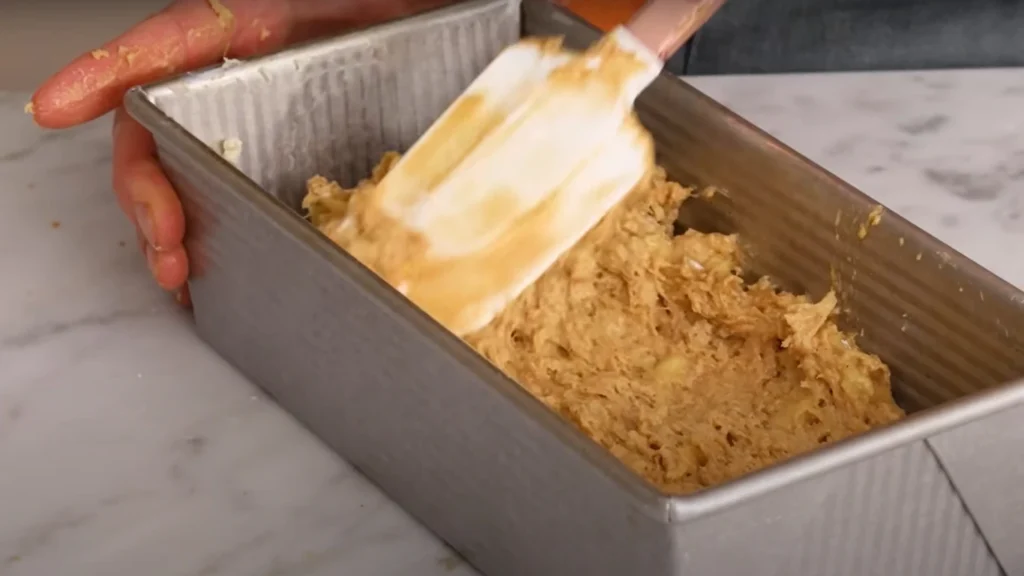
Pouring in the Batter:
- ✔️ Gently pour the batter into the pan.
- ✔️ Smooth the top with a spatula, but don’t press too hard—this keeps the texture airy.
🚨 Secret Tip for a Beautiful Top:
Want that classic domed top? Sprinkle a little sugar on top before baking. It creates a slight crust that adds extra texture!
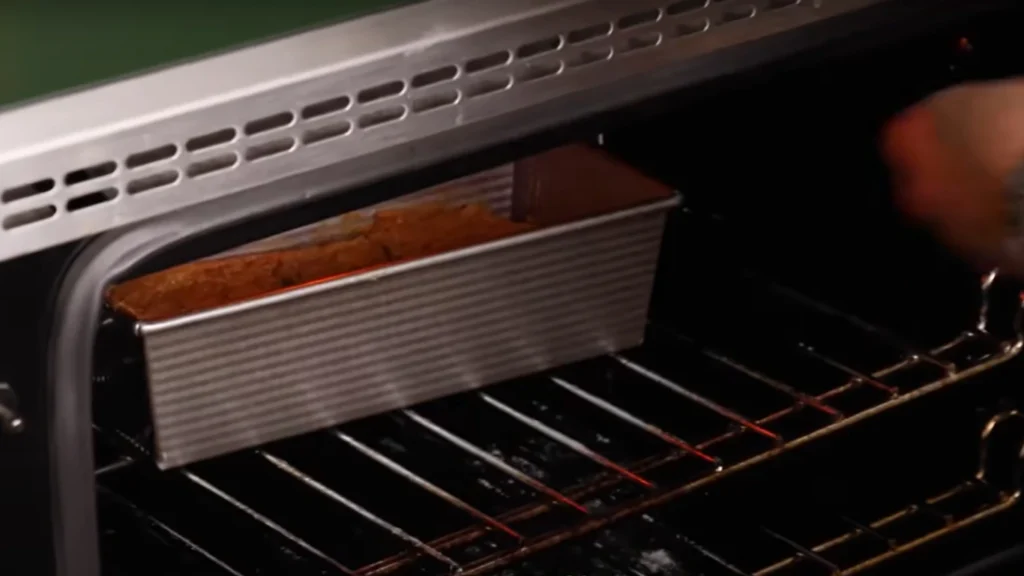
Baking Instructions:
- ✔️ Bake at 350°F (175°C) for 50-60 minutes.
- ✔️ Check for doneness: Insert a skewer or toothpick into the center. If it comes out clean, it’s done!
- ✔️ Touch test: The top should be golden brown, slightly domed, and springy to the touch.
💡 Why does baking time vary?
Ovens can have slight temperature differences. If your loaf looks pale after 50 minutes, give it an extra 5-10 minutes. If the top starts browning too quickly, loosely cover it with foil.
🚨 Do NOT slice immediately! Let’s talk about why cooling is essential.
Step 8: Cooling & Enjoying – The Most Tempting Part 🍽️
At this point, your kitchen smells absolutely incredible. The scent of caramelized bananas, warm vanilla, and sweet cinnamon is filling every corner. You’ll be tempted to slice in right away—but wait!
💡 Why should we let banana bread cool?
- ✔️ If you slice too soon, the inside will be too soft and fall apart.
- ✔️ Cooling allows the flavors to fully develop and the texture to set.
- ✔️ A slightly warm banana bread slice = perfect balance between structure and softness.
How to cool it properly:
- 1️⃣ Let the bread sit in the pan for 10 minutes. This helps it firm up.
- 2️⃣ Transfer to a wire rack and let it cool for another 30 minutes.
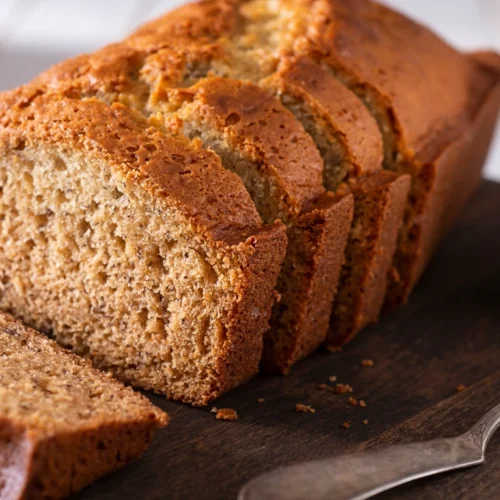
🎉 Now, it’s time to slice and enjoy!
Serving Ideas – How to Elevate Your Banana Bread Experience 🍯
- ✨ Classic Style: Spread a pat of butter on a warm slice. Simple and delicious.
- ✨ Sweet & Decadent: Drizzle with honey or maple syrup.
- ✨ Nutty & Crunchy: Toast a slice and spread on peanut butter or almond butter.
- ✨ For Dessert Lovers: Warm up a slice and serve with a scoop of vanilla ice cream. 🍨
- ✨ Chocolate Twist: Melt dark chocolate and drizzle it on top. 🍫
💡 Storage Tips:
- At room temp: Store in an airtight container for 2-3 days.
- In the fridge: Lasts up to a week.
- Freezing: Wrap in plastic wrap and freeze for up to 3 months. Just thaw and enjoy!
Final Thoughts – The Ultimate Comfort Bake 🍌🍞
And there you have it! A warm, soft, and perfectly moist homemade banana bread that’s easy to make and guaranteed to impress. Whether you enjoy it as a quick breakfast, an afternoon treat, or a comforting late-night snack, this banana bread will always hit the spot.
Banana Bread Recipe
Equipment
- 2 Mixing Bowls Set of sturdy mixing bowls helps keep wet and dry ingredients separate before combining.
- 1 Whisk & Spatula Good whisk helps blend dry ingredients.
- 1 Spatula rubber spatula makes folding the batter easy without overmixing.
- 1 Hand Mixer If you want extra creamy butter and sugar, a hand mixer or stand mixer is a game-changer!
- 1 Loaf Pan (9×5-inch) Right loaf pan ensures even baking and prevents sticking
- 1 Cooling Rack Prevents soggy bottoms by allowing air circulation.
- 1 Measuring Cups Proper measurements ensure accuracy for a perfect banana bread texture.
- 1 Parchment Paper Parchment paper prevents sticking and makes clean-up easy.
- 1 Baking Spray Baking spray ensures a smooth release from the pan.
Ingredients
- 1¾ Cups All purpose flour
- 1 tsp Baking Soda
- ½ tsp cinnamon - (optional but recommended)
- 1 tsp Kosher salt - (If using fine salt, reduce to ½ tsp)
- ½ cup Unsalted butter - Softened
- ¾ cup Packed Brown Sugar - 150g
- 2 Large Eggs - Room Temprature
- 1 tsp Vanilla Extract
- 3 Large Ripe Bananas - Mashed (~ 1½ cups)
- ½ cup Chocolate chips, walnuts, pecans, or shredded coconut - optional but delicious!
Instructions
Prep the Bananas & Preheat Oven
- Preheat your oven to 350°F (175°C).
- If bananas are not overripe, place them on a baking sheet and bake for 10-12 minutes until blackened and soft. Let them cool.
- Mash bananas in a bowl until smooth (some small chunks are okay).
Prepare the Dry Ingredients
- In a large bowl, whisk together flour, baking soda, salt, and cinnamon. Set aside.
Cream the Butter & Sugar
- In another large bowl, beat butter and brown sugar together until light and fluffy.
- Add eggs one at a time, mixing after each.
- Stir in vanilla extract.
Add Bananas & Combine
- Gently mix in the mashed bananas until fully incorporated.
Fold in Dry Ingredients
- Slowly add dry ingredients to wet ingredients. Use a spatula and fold gently—DO NOT overmix. A few flour streaks are okay!
- (Optional): Fold in chocolate chips, nuts, or other mix-ins.
Bake the Banana Bread
- Grease a 9×5-inch loaf pan with butter or line it with parchment paper.
- Pour the batter into the pan and level it out.
- Bake at 350°F (175°C) for 50-60 minutes.
- Check doneness: Insert a toothpick in the center—it should come out clean or with a few crumbs.
Cool & Serve
- Let the banana bread cool in the pan for 10 minutes, then transfer to a wire rack.
- Slice & enjoy!
Notes
- Room Temp: Store in an airtight container for 3-4 days.
- Fridge: Keeps fresh for up to 7 days.
- Freezer: Wrap slices in plastic wrap & freeze for up to 3 months.
- Bake in a muffin tin at 350°F (175°C) for 18-22 minutes.
- Sprinkle brown sugar on top before baking for a crisp topping.
- Place a banana slice lengthwise on top for a decorative touch.
Some Important Additional Tips to Keep in Mind
1. Ingredient Substitutions & Variations
- Dairy-Free Option: Swap butter for coconut oil or vegan butter.
- Egg Substitute: Use flax eggs (1 tbsp ground flaxseed + 2.5 tbsp water per egg).
- Healthier Version: Replace half the flour with whole wheat flour and use honey or maple syrup instead of sugar.
- Gluten-Free Alternative: Use a 1:1 gluten-free flour blend.
2. Mix-In Ideas for Extra Flavor & Texture
Want to elevate your banana bread? Try these mix-ins!
- Chocolate Lovers: Add ½ cup dark chocolate chips 🍫
- Nutty Crunch: Mix in ½ cup chopped walnuts or pecans
- Fruit Boost: Add ½ cup dried cranberries or raisins
- Coconut Twist: Stir in ½ cup shredded coconut for a tropical touch
- Cinnamon Swirl: Mix 1 tbsp cinnamon & 2 tbsp sugar and swirl into the batter
3. Understanding Banana Ripeness – The Science Behind It 🍌
- Light Yellow Bananas: Too firm, won’t add much sweetness.
- Speckled Brown Bananas: Perfect balance of sweetness and structure.
- Fully Brown/Black Bananas: Most flavor-packed and ideal for baking.
4. Common Mistakes & How to Avoid Them 🚨
Here are mistakes bakers often make and how to prevent them:
1️⃣ Dense, Heavy Bread?
- ✔️ Cause: Overmixing the batter.
- ✔️ Fix: Fold gently until just combined.
2️⃣ Dry Banana Bread?
- ✔️ Cause: Not enough banana or overbaking.
- ✔️ Fix: Use overripe bananas and check the bread at 50 minutes.
3️⃣ Soggy Center?
- ✔️ Cause: Taking it out too early.
- ✔️ Fix: Insert a skewer—it should come out clean or with a few crumbs.
5. Pro Presentation Tips – How to Make It Look Bakery-Quality 🍞
Want your banana bread to look extra professional? Try these simple tricks:
- For a Crispy, Caramelized Top: Sprinkle a little brown sugar before baking.
- For a Picture-Perfect Look: Slice a banana lengthwise and place it on top of the batter before baking.
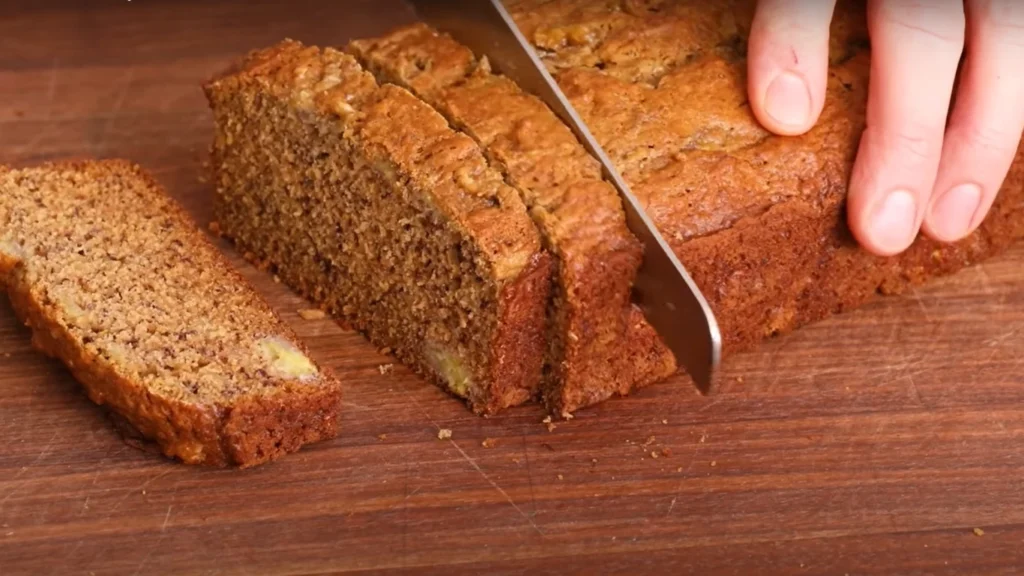
- For Clean, Even Slices: Use a serrated knife and let it cool completely.
6. Storing & Freezing – Keeping Banana Bread Fresh for Longer
- ✔️ At Room Temp: Store in an airtight container for 3-4 days.
- ✔️ In the Fridge: Wrap in plastic wrap—it stays fresh for a week.
- ✔️ In the Freezer: Wrap slices in plastic + foil. Lasts 3 months! Just thaw overnight.
7. Turning This Recipe Into Muffins or Cake 🎂
Want to turn this banana bread into muffins or a cake? Here’s how:
- Banana Muffins: Pour batter into lined muffin tins and bake at 350°F for 18-22 minutes.
- Banana Cake: Pour batter into a 9×9 cake pan and bake for 30-35 minutes.
- Mini Banana Loaves: Use smaller loaf pans and bake for 25-30 minutes.
8. Pairing Ideas – What to Serve With Banana Bread 🍵☕
- With Coffee: The caramelized banana flavor pairs perfectly with a latte or espresso. ☕
- With Tea: Try it with chai tea for a warm, spiced combo. 🍵
- With Ice Cream: Serve a warm slice with vanilla or caramel ice cream. 🍨